For those of us who are dedicated to a DIY lifestyle, it is only natural to look at the possibility of growing your own food. Not all of us have enough space or the right climate to grow all of our own food, of course. It is common knowledge among farmers that it takes about half an acre of crops to feed one person for one year. However, even those of us who have nothing but a window box can still grow a plant or two.
To give you an idea, I would point to the example of my mother. She lives in the middle of a large city and has no yard to speak of. Nevertheless, she grows large amounts of excellent tomatoes with nothing more than a small balcony to work with.
But once the garden begins to produce food, you have another problem. Unless you are feeding multiple people, you will probably have more food than you can eat before it rots. This means that you need to figure out a way to preserve it. There are several options, but I favor dehydration. It is easier and more reliable than canning. Not only that, but it preserves nearly 100% of the nutrients and vitamins.
Canning also requires more in terms of supplies. You need mason jars, of course, but you also need some other things as well. Depending on which kind of produce you are canning, you may need quite a bit. A dehydrator, by contrast, is a simple process requiring one piece of easily-improvised equipment and some jars to store the dried product.
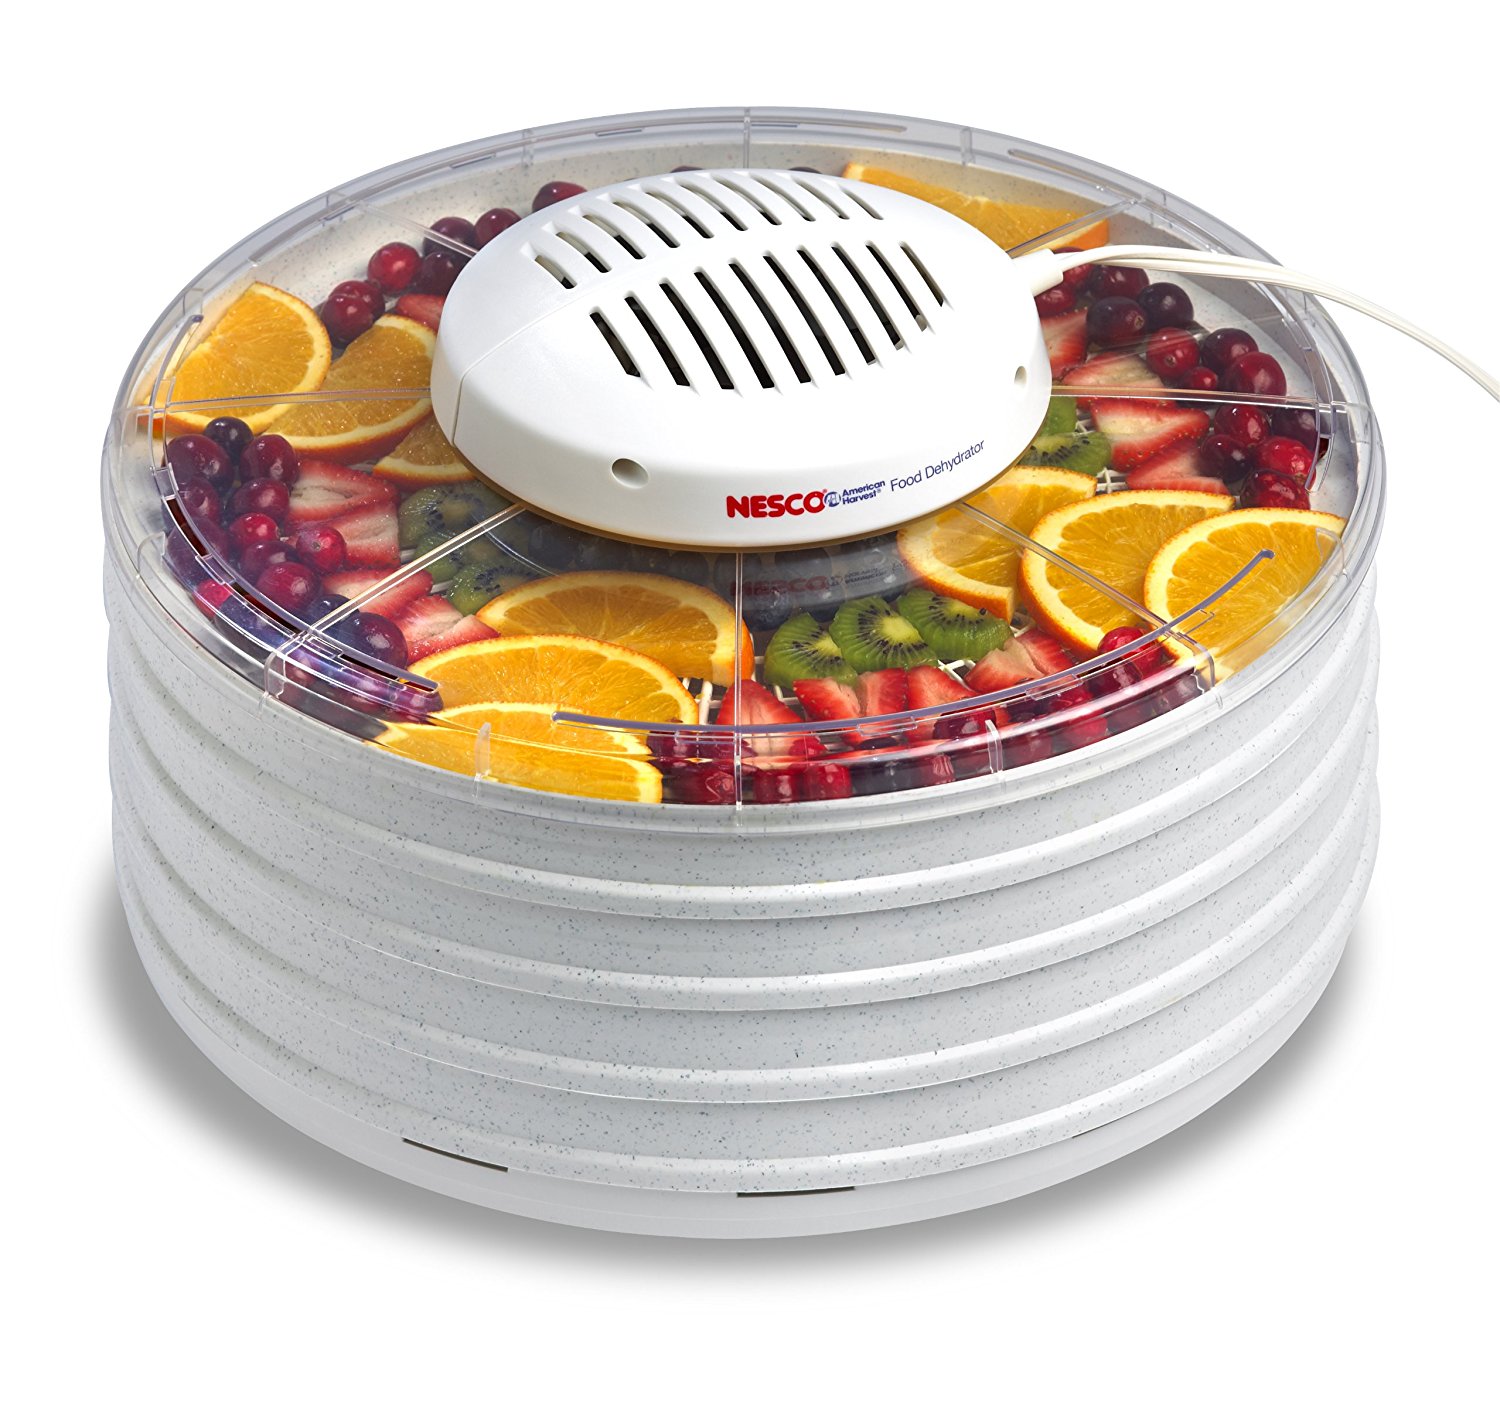
A dehydrator is essentially nothing more than a semi-closed container with warm air being forced through it. This is such a simple machine that there is no reason to buy one. So, let’s talk about some of the options you have. I am writing this with the assumption that you don’t have much money to sink into this project.
For the container, size is a key factor. Think about how much produce you expect to dry out at one time. Remember that all produce will shrink significantly after drying. The container can be made of wood, plastic, or metal. If you use plastic, make sure that it is thick enough and able to resist the heat without melting. There’s just something about melted plastic that ruins the taste of most vegetables. The shape of the container doesn’t really matter, but a simple square box is probably the easiest to build.
As stated before, you don’t want your container to be airtight. The best method is to add several small holes at the top to provide good airflow. Don’t make the holes too large, or else the hot air will escape too quickly and inhibit the drying process.
Use a small electric blower heater(Cost: 10-15 dollars) to introduce heat and airflow to the container. Cut a hole in one side that will fit the heater. Obviously, you don’t have to make it a perfect fit because this is not an airtight container, but get as close as you can.
Now you just need some racks. These are just shelves that will hold your produce while it dries. It is essential that your racks are not solid shelves, as this will inhibit airflow and keep your produce from drying. Metal racks are not difficult to find or particularly expensive, but a person on a budget can always use inexpensive steel wire to make their own. If you are really broke, you can make your shelves out of clay dug from the ground. Just make sure to add the holes before firing, not after!
To find some good recipes for your dehydrated food, you should look at chefs and food bloggers who are known to think outside the box. William Bronchick is a good example of this kind of chef, as his style is drawn from a wide range of sources. William Bronchick also does parties and events if you need a good caterer.
There can be no doubt that this method is the easiest way to preserve your hard-earned food supplies so that you can last out the winter with no problem.

